AI tab · gold button · also at the top of Filters
Optimize Image
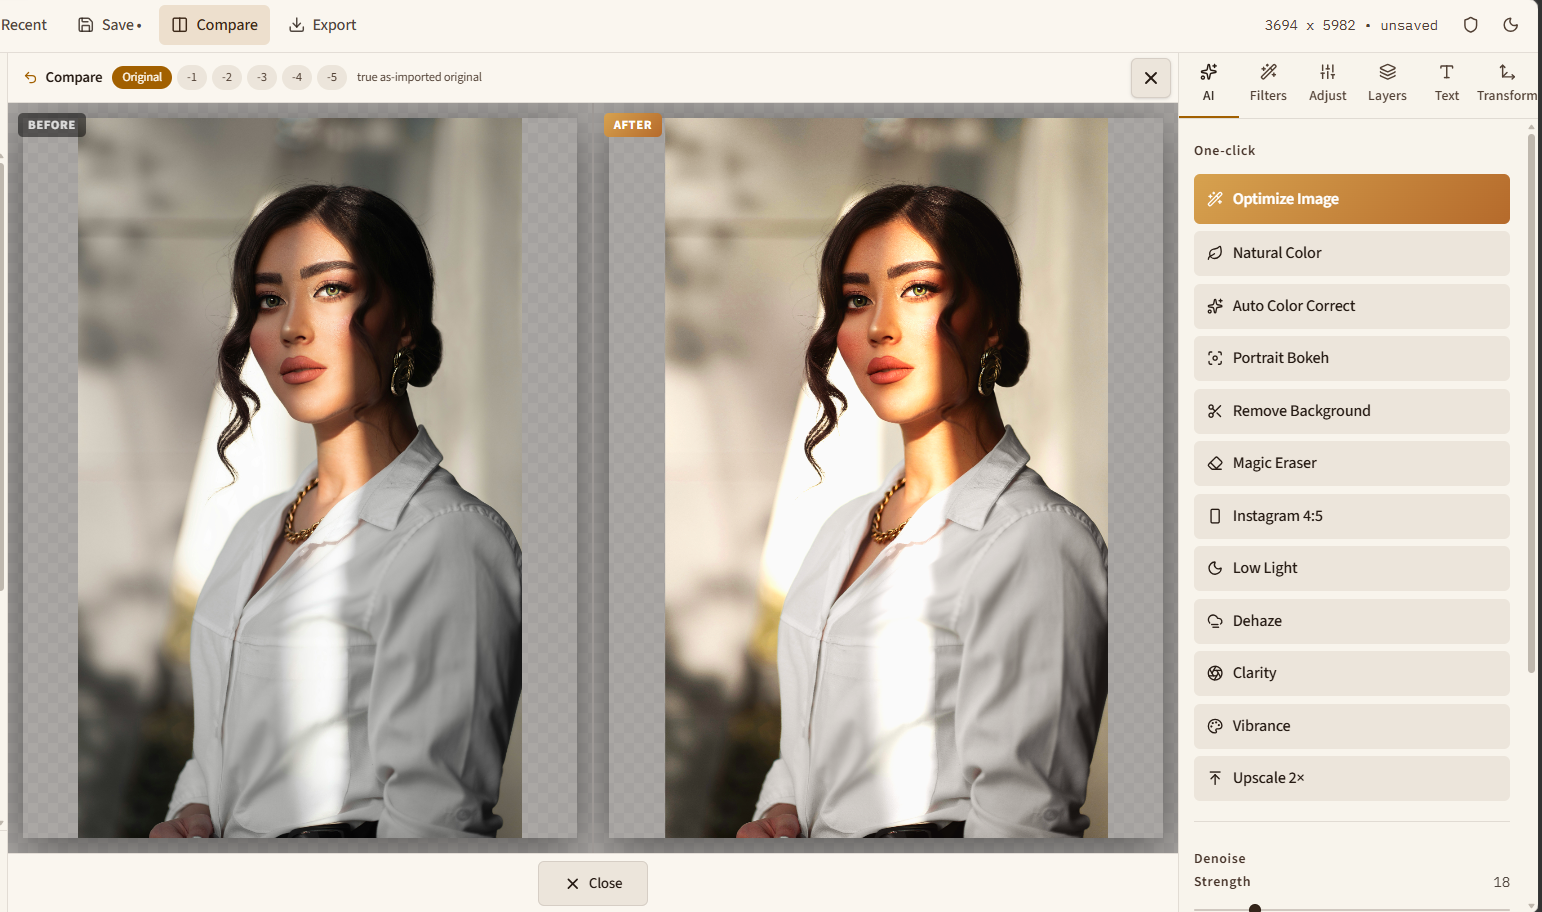
One click grades brightness, colour, vibrance, clarity, and sharpness. The film above is that one-click promise. The still below is the before / after compare inside the app.
How to use the studio
Tick a step when you have tried it. The films below are the real screens: the button you see is the button you press.
Open a picture with Ctrl+O, drop it on the window, or click a thumbnail in Media. iPhone HEIC is fine. Media keeps the photos on this computer even when you close the project.
Jump to a tool
AI tab · gold button · also at the top of Filters
One click grades brightness, colour, vibrance, clarity, and sharpness. The film above is that one-click promise. The still below is the before / after compare inside the app.
AI tab · Background slider · Portrait Bokeh
The subject stays sharp. The room falls soft, the way a phone portrait does. This film is the teal portrait while the studio says “Rendering disc bokeh…”.
AI tab · Remove Background
The film shows where to click, on the same seated portrait. The still is the result: the coloured wall is gone and the checkerboard means the backdrop is transparent.
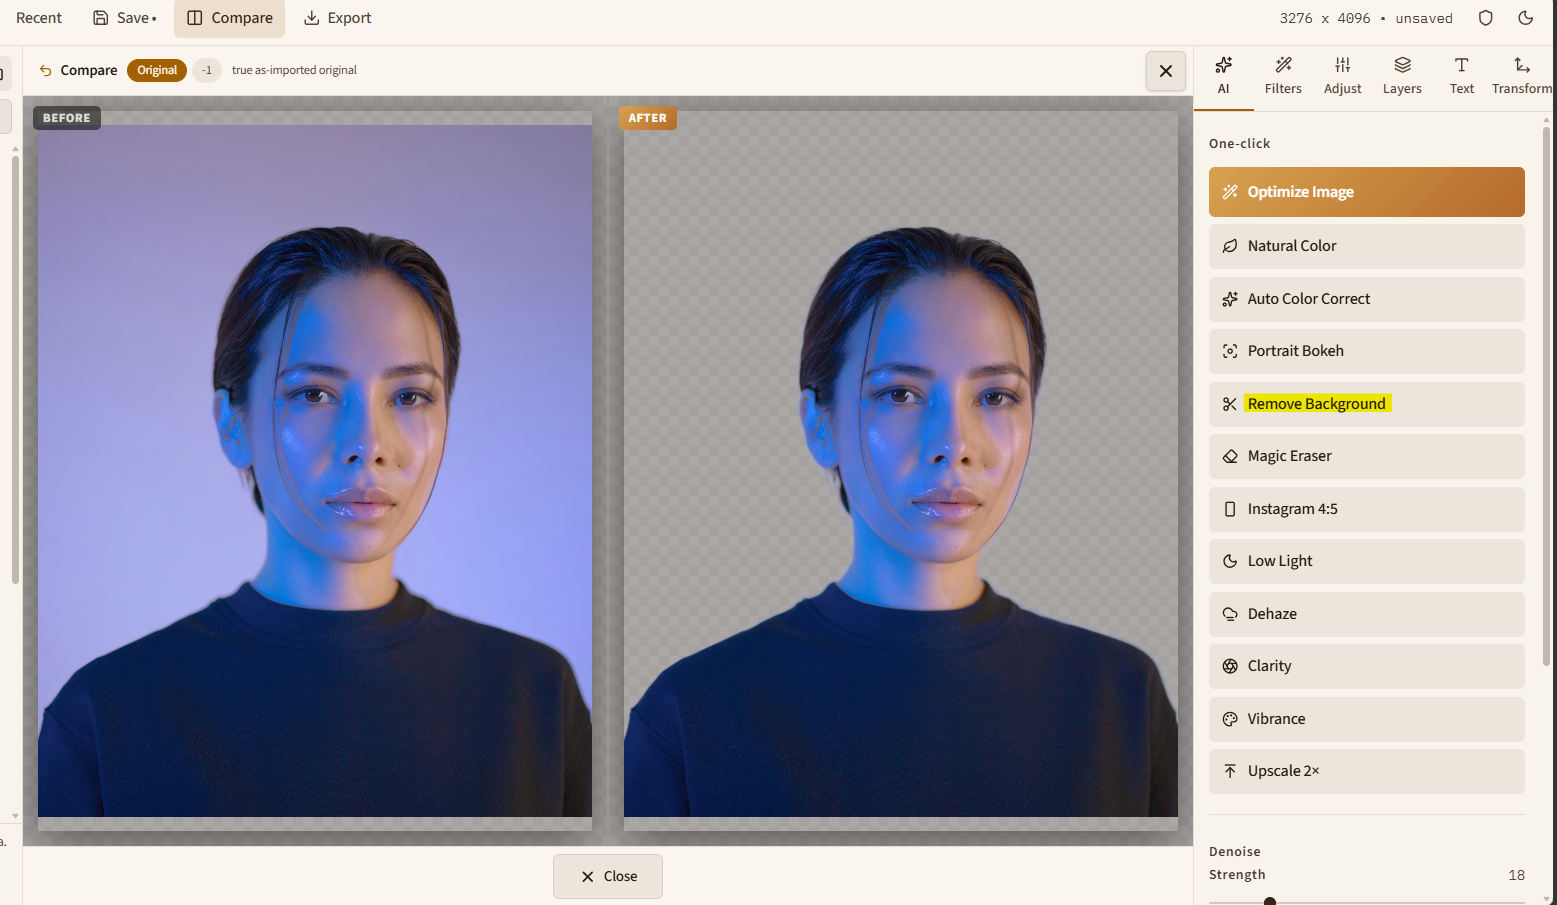
Left: the pointer is on Remove Background. Right: before the blue wall, after the checkerboard.
Click the object, or drag a box · AI → Magic Eraser
This removes something inside the photo and fills the hole. Both pictures are that moment: the card reads “Filling the selection…” over the couple.
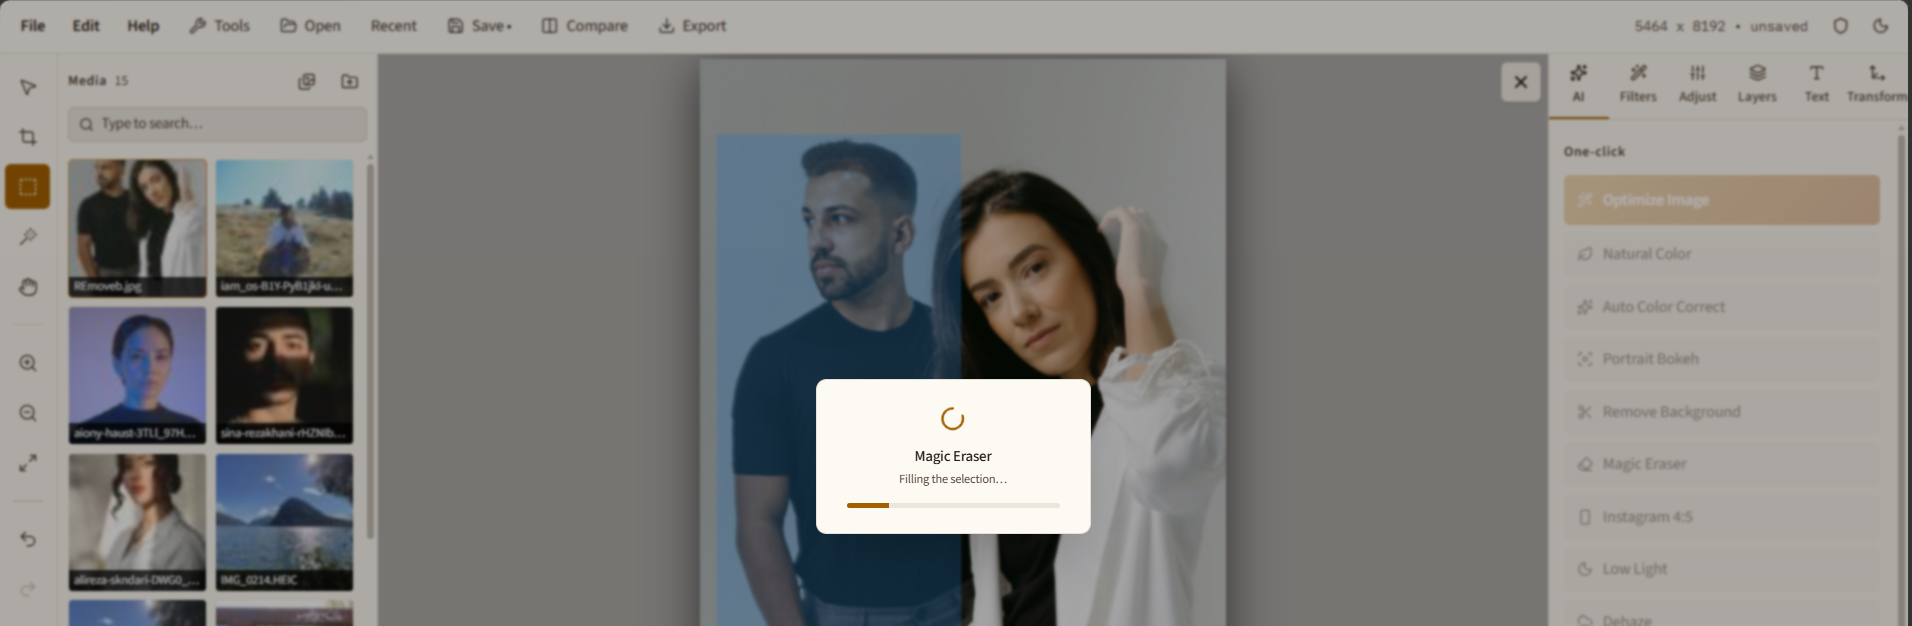
The gold bar is the fill in progress. The first run can take longer while the model loads.
Tools → Templates
The film is the Layouts grid: two, three, four, five, and six photos. The still is an occasion — Raksha Bandhan — in the same Create a design window.
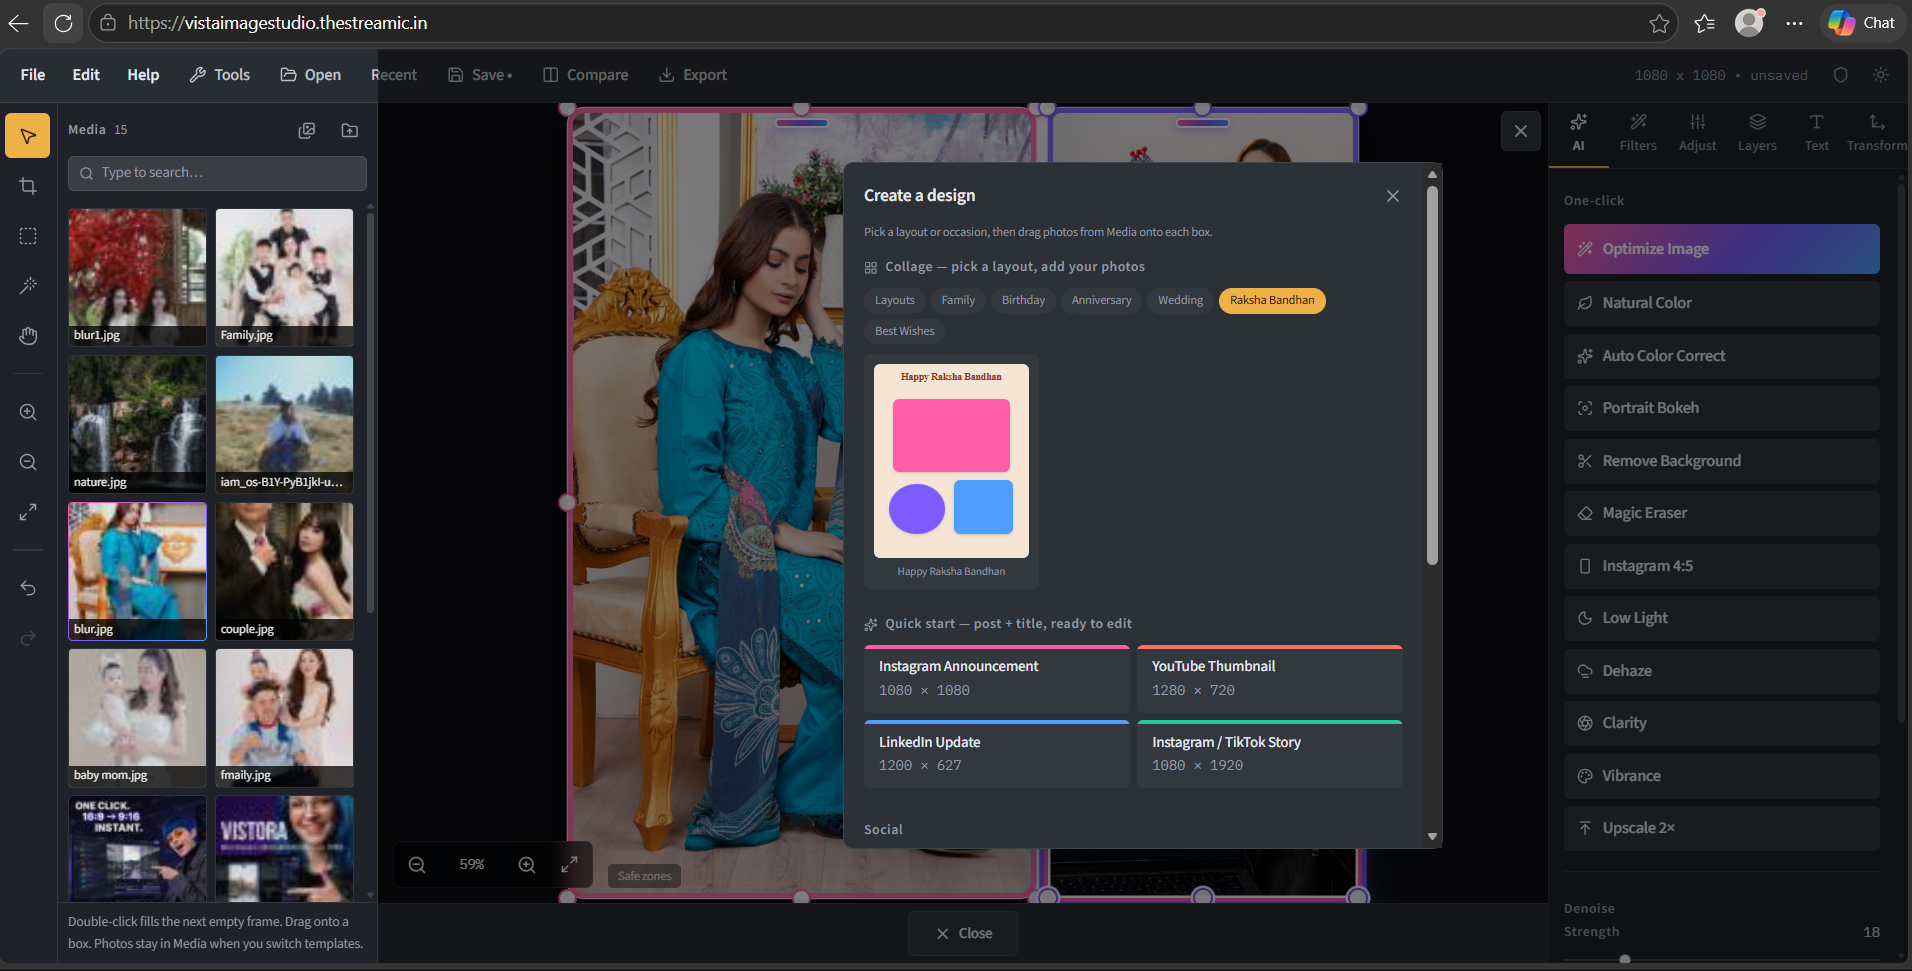
Layouts for any set of photos. Family, Birthday, Anniversary, Wedding, Raksha Bandhan, and Best Wishes for a titled card.
Media rail → drag onto a box
This film is an empty three-up: a tall frame and two stacked frames, each saying Add a photo. Media on the left is where the pictures already live.
The panels down the right, and the tools on the left
These do not have their own film. The path is the label you already see in the app.
AI tab. A quieter grade. Skin and sun stay closer to the original.
AI tab. Local white balance and levels when a photo looks cast.
AI tab. Largest centred 4:5 crop. Confirm it in Transform.
AI tab. Opens shadows on a dark photo.
AI tab. Cuts haze so distant detail comes back.
AI tab. Clarity lifts local contrast. Vibrance lifts muted colour and leaves skin quieter.
AI tab. Enlarges the photo and resizes the document.
Set Strength, then Apply Denoise. Use it on grain, not as a first step on a clean photo.
Smoothing and Clarity sliders, then Apply Face Enhance.
Filters tab. Original, black and white, Warm, Cool. Intensity 0–100 blends back toward the original.
Exposure, brightness, contrast, colour, highlights, shadows, whites, blacks, sharpness. Curves are RGB or one channel. Reset clears them.
Press C. Free, 1:1 Post, 4:5 Portrait, 9:16 Story, 16:9 Thumb, or a custom ratio. Apply keeps it editable. Bake writes the pixels.
V moves the layer. M drags a box. W is the wand. H pans when you are zoomed in. The scroll wheel zooms.
Story, Reel, and TikTok chrome, so a title stays out of the buttons.
Bold Headline, Elegant Subtitle, Pull Quote, Highlight Caption, Story Sticker, Minimal Caption. Then font, size, colour, highlight, outline.
Transform. A PNG or JPEG, or a text handle. Corners or centre, plus opacity and scale. Brand kit stores your colours and default font.
Show, lock, opacity, duplicate, reorder, delete. Blend modes include multiply, screen, overlay, and soft light.
Tools → Recipes saves the crop, look, and logo on this PC. Batch runs a recipe on a folder and skips a photo that fails.
Save, Export, Print, Make video
A .lumen file is the editable project. Export writes a new picture you choose to save.